Creating a branch
Create a branch for a separate place to work on changes before opening a pull request.
Observação
You can only create a branch in a repository to which you have write access.
Creating a branch via the branches overview
-
Em GitHub, acesse a página principal do repositório.
-
Na exibição da árvore de arquivos à esquerda, selecione o menu suspenso do branch e clique em View all branches. Você também pode encontrar o menu suspenso do branch na parte superior do editor de arquivos integrado.
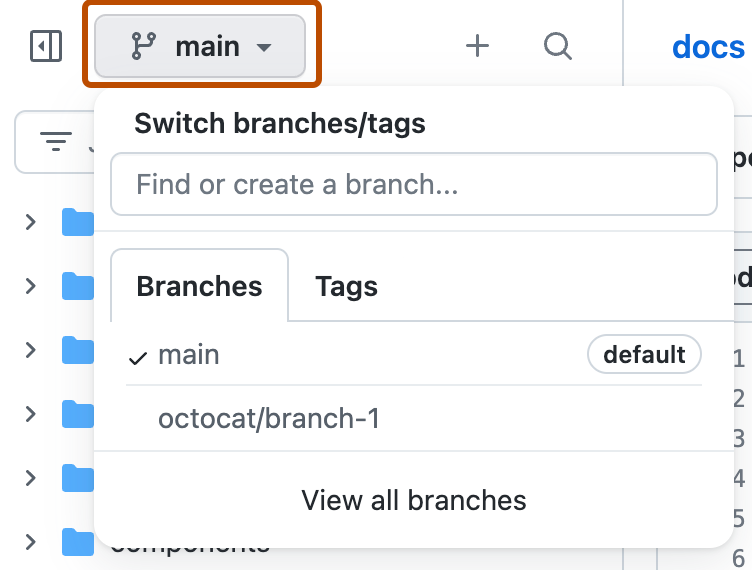
-
Click New branch.

-
Under "Branch name", type a name for the branch.
-
Under "Branch source", choose the repository and branch to base your new branch on.
-
Click Create branch.


Creating a branch using the branch dropdown
-
Em GitHub, acesse a página principal do repositório.
-
Select the branch dropdown menu, in the file tree view or at the top of the integrated file editor.
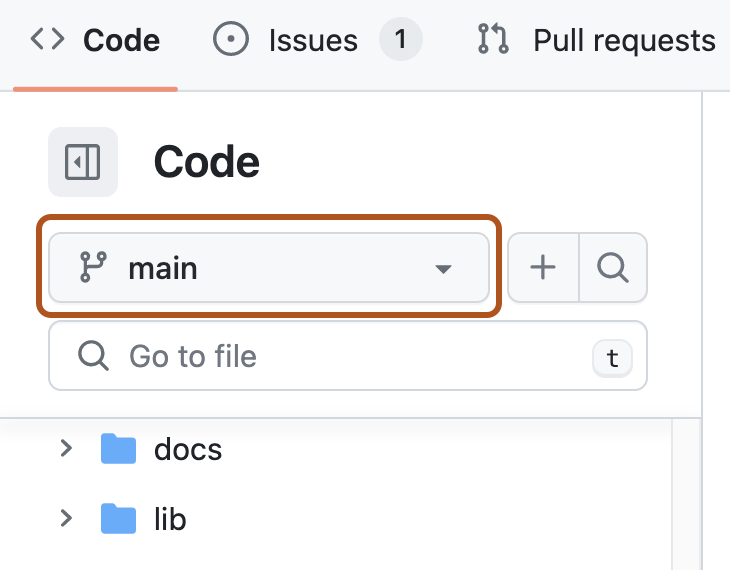
-
Optionally, to create the new branch from a branch other than the default branch of the repository, click another branch. Then, select the branch dropdown menu again.
-
In the "Find or create a branch..." text field, type a unique name for your new branch, then click Create branch.
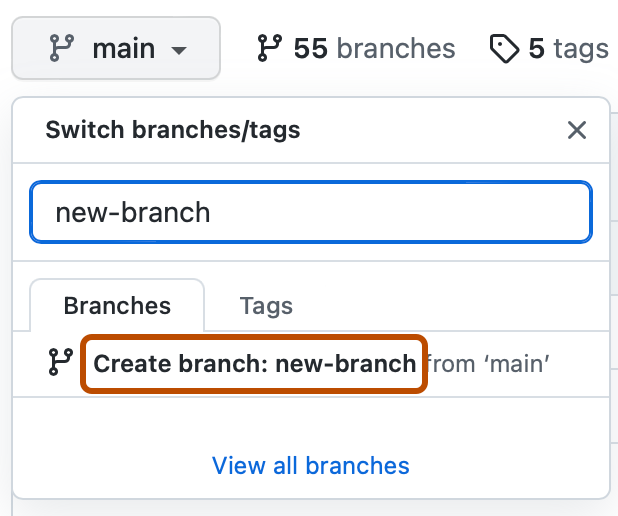


Creating a branch for an issue
You can create a branch to work on an issue directly from the issue page. See Criando um ramo para trabalhar em uma tarefa.
Deleting a branch
Delete branches that you no longer need, such as branches for merged or closed work.
É possível excluir automaticamente as branches de origem após a mesclagem de pull requests no seu repositório. Consulte Gerenciar a exclusão automática de branches.
Observação
If the branch you want to delete is the repository's default branch, choose a new default branch first. See Alterar o ramo padrão.
If the branch is associated with an open pull request, merge or close the pull request before deleting the branch.
-
Em GitHub, acesse a página principal do repositório.
-
Na exibição da árvore de arquivos à esquerda, selecione o menu suspenso do branch e clique em View all branches. Você também pode encontrar o menu suspenso do branch na parte superior do editor de arquivos integrado.
-
Next to the branch that you want to delete, click .

-
If the branch is associated with at least one open pull request, deleting the branch closes the pull requests. Read the warning, then click Delete.

Se você excluir um branch de cabeçalho após o merge do seu pull request, o GitHub irá verificar se há quaisquer solicitações de pull no mesmo repositório que especificam o branch excluído como o branch base. O GitHub atualiza automaticamente quaisquer pull requests, alterando o branch base para o branch base do pull request mesclado. See Branches.